Showing posts with label Crafts. Show all posts

Friday, April 10, 2020

Good Friday


Happy Good Friday Friends!

We are definitely living in some historical times! I would have never thought that I’d be teaching my kinder students through an online platform or wearing a face mask to grocery shop. Yet, here we are. It can be scary and lonely at times, but I have hope in my Lord and Savior. I know that He can cause good to come from even the bad times. I know that I can trust in His word when he says not to worry about tomorrow.

To keep things somewhat normal our church is having a drive-in Easter service. All you do is park in the parking lot (every other space) and listen to God’s word. We did the same thing last week for Palm Sunday too. For safety, social distancing is followed by staying in your vehicle and the building is closed. Better to go the bathroom before you get there. LOL

Tomorrow our church is having an Easter Egg hunt….. but this year volunteers hang Easter Eggs on a tree in their front yard. Each family that want s to participate is given a list of house addresses. As they drive around and find the houses, their kids can jump out and grab an egg! Below is a photo of the eggs that I’m working on for my azalea bush out front. I think they turned out pretty good. I used ribbon and pom poms from last years Easter baskets that I made.


Happy Easter Friends!
I hope you enjoy your weekend!
Remember this will be over soon and will definitely be something 
that we can share with our future grandkids.

xoxoxo

Josie


Monday, June 16, 2014

Jewelry Making

The latest girl's night out (actually...girl's night in) was so much fun! 
We gave jewelry making a whorl and I ended up making 2 pairs of
 fabulous earrings! I couldn't be happier with the way they turned out!
 Of course We had to have food too! Seems 
like everything in my life revolves around eating!
 Salad with homemade basil dressing...
 French 75...
Spinach mushroom crepes with goat cheese. 

Hope you have a creative week!!
xoxox
Josie

Thursday, June 5, 2014

Photo Collage Shadow Box


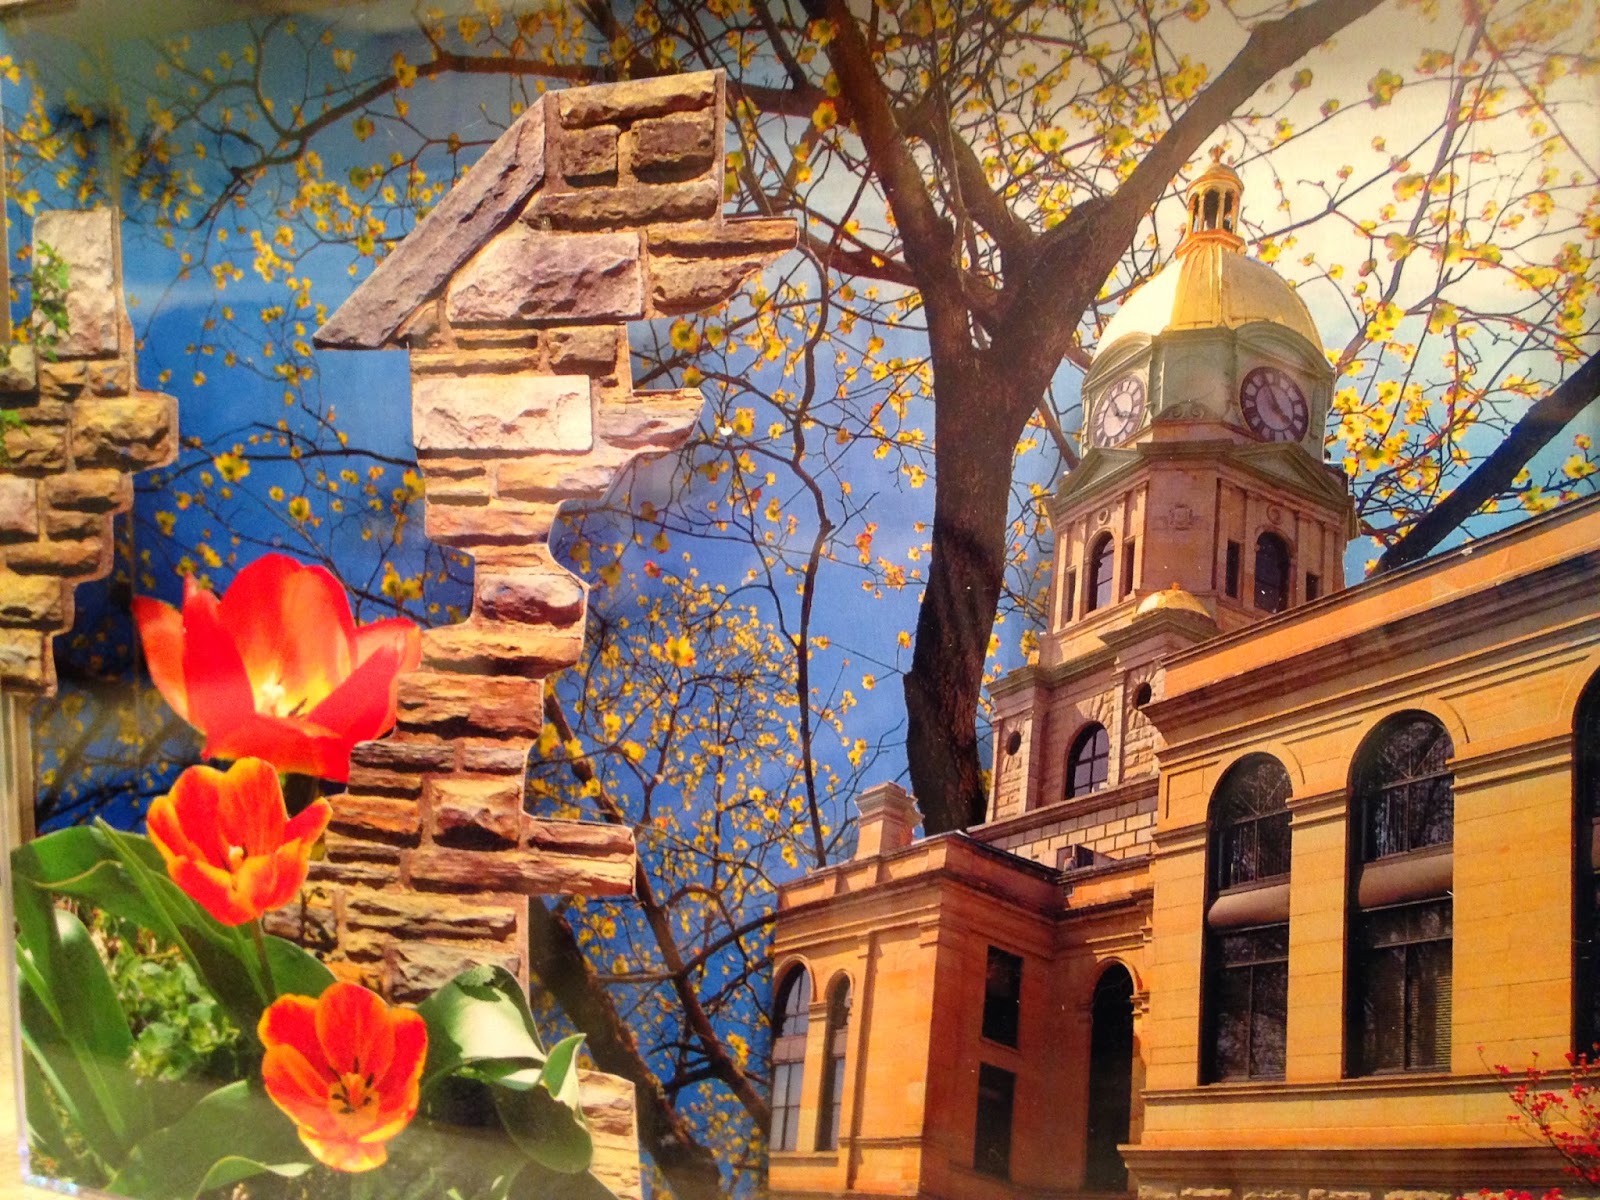
This is a really easy photo collage project that doesn't take much time at all. I first started out by taking a bunch of photos at our local park and downtown area. This photo collage is inside one of those plastic photo collage boxes and it has 3 layers. The first layer is a background image of a tree. I cut it to size and then glued it directly to the bottom (inside back) of the shadow box. The middle section is an image of the courthouse and the largest flower. I used an x acto knife to cut out the building and flower and then glued a couple of styo-foam pieces to the back of them so that they would pop out from my bottom image. Once that was dry, I glued them to my background. For the final layer, I used my x acto knife and cut out flower images and pieces of a stone wall from several other photos . I then sprayed the front of these pieces with spray adhesive and layered them on the inside of the clear lid of the shadow box. Before any of these pieces were attached permanently, I practiced placing them in different arrangements to see what looked best.

 I think this would be a fun project for kids to do with photos from a vacation! 
Have Fun!
xoxoxo
Josie

Saturday, May 31, 2014

Fun Way to Display Your Photos

I am always looking for craft ideas. Something to 
put a new spin on a traditional way of doing something. 
So, I decided to "shabby up" an old picture frame. 
I've seen several versions of these out in stores 
and most recently at a graduation party.
 You could use this idea to display Christmas cards,
 school photos, postcards, or you could even turn it 
into a calendar to count down to an event by adding 
number cards. Let your imagination go wild! 
This is me trying to craft with a cat on my back! hahaha!
 He has a habit of jumping on our shoulders and just hangin' out. Crazy cat!!!
SUPPLIES:
Old frame
twine 
Hot glue/hot glue gun
craft size clothes pins
embellishments ( I used paper flowers)
photos
Hot glue twine from one side of the frame to the other.
 I hot glued these pretty paper flowers to my clothes pins. 
They are actually recycled from the Easter baskets that
 I made my kiddos! So that makes me smile!!
When you finish, all that's left to do is add your photos!
Happy Crafting!!
xoxox
Josie


Wednesday, May 28, 2014

Girls' Craft Night!

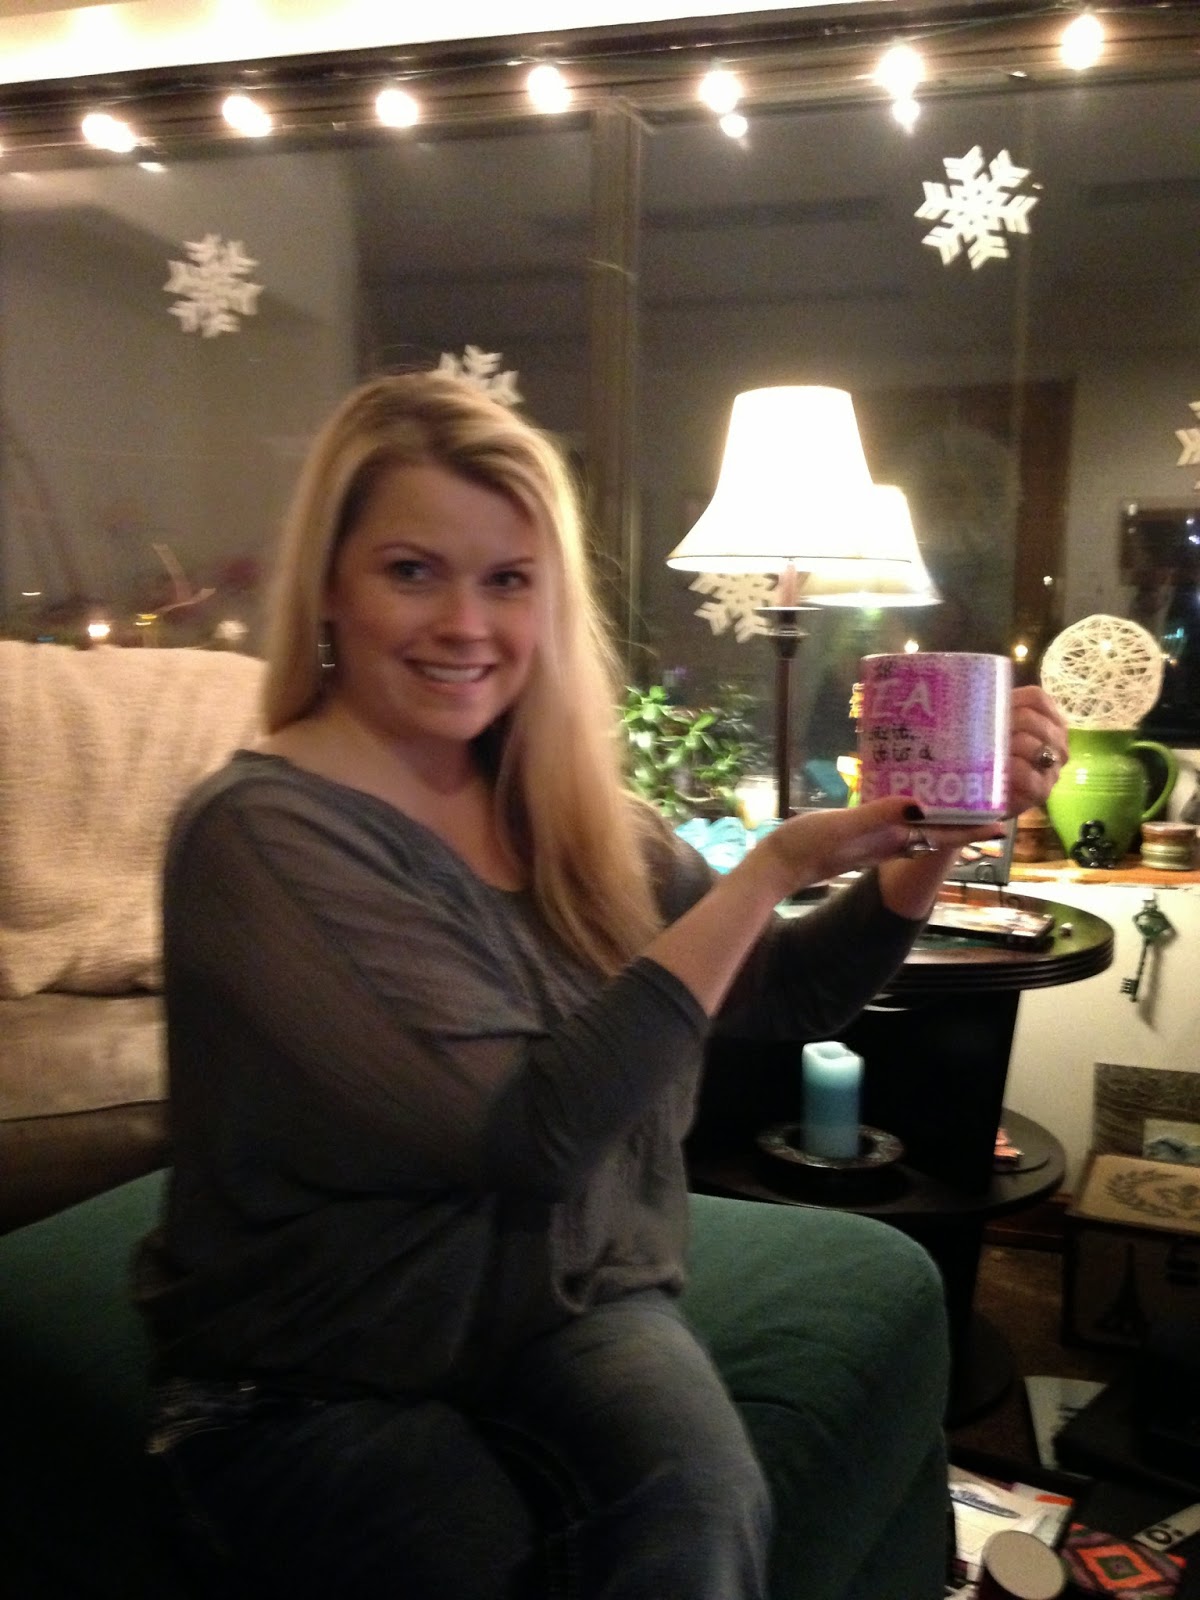
A few weeks ago a couple of my girlfriends and I got together for a Moroccan themed craft night. Well, the food was Moroccan themed not the craft. hahaha! We had the best time eating, crafting, and enjoying each others company! We even watched Casablanca!!!
The craft project idea we got off of Pinterest.
 I would embed the link to it, but when I clicked the image 
on Pinterest it did not take me to the original site. Luckily, the project is easy to do!
SUPPLIES:
white mug with a smooth surface
sharpies
stickers or stencils
All you do is decorate your mug with sharpies 
and bake in an oven at 350 degrees for 30 minutes.
You can use stickers or stencils to give you a nice outline.
Be sure to remove the stickers before you bake your mug.
I bought my mug at Kroger.
"If TEA can't fix it....
it is a serious problem."
Use your Sharpie to make dots all around your letters.
 Be sure to get them very close together near the edges of the letters.
Remove your stickers and then bake in oven at 350 degrees.


Happy crafting dear friends!

XOXOXO
Josie

Monday, May 26, 2014

Photography Class Artwork/Photo Transfer Project

I absolutely loved this project! I think it was my FAV out of all the things we did in this semester's art class! Once you get the hang of it, photo transferring is so easy! If you have never tried it, I recommend you get the book Spice Up Your Photos by Nitsa Malik. It has more than one great project idea for photo transferring. I think that the one I did is probably the easiest.

SUPPLIES
  • laser copy of a photo that you have taken
  • canvas board
  • spray bottle
  • soft rag or sponge
  • Mod Podge or some other gel medium
  • sponge brush or a medium size flat brush
  • clear finish
  • patience! lol


STEP 1: Take some black and white photos (or color) of some of your favorite things. Print the one that you like best on regular copy paper (not photo paper). Use an image that has a good balance of black and white. Lots of contrast is good.

STEP 2: Use a sponge brush to apply Mod Podge to a canvas board that is the size of your image. Also, apply the Mod Podge to the surface of your image. Let it set until it is slightly tacky. 

STEP 3: Gently lay the image face down on the canvas and smooth all the air bubbles out. It is very important that all air bubbles have been smoothed away or you will have an epic fail. That happened to me the first time I tried this. 

STEP 4: Let it dry.....be patient! This could take as long as 24 hrs. YES! That Long!!!

STEP 5: After it has dried, use a spray bottle to wet the back of your image. 

STEP 6: Use your fingers to start rubbing off the paper. I even used a soft washcloth to help get it off, but don't rub to hard. If you notice the photo below, I was even able to peel the paper off in sections. Just remember to be gentle.

STEP 7: If you want use paint or other materials to jazz up your photo before you seal it. I used gold metallic paint to put accents on mine before I sprayed it with a clear sealant.


Below is my final photo....I love it because it has a vintage vibe to it. 
Plus, it is one of the many photos that I took of my daughter for this year's prom.


LUV LUV ART AND MY GIRL!
xoxox
Josie

Saturday, April 19, 2014

Happy Easter!

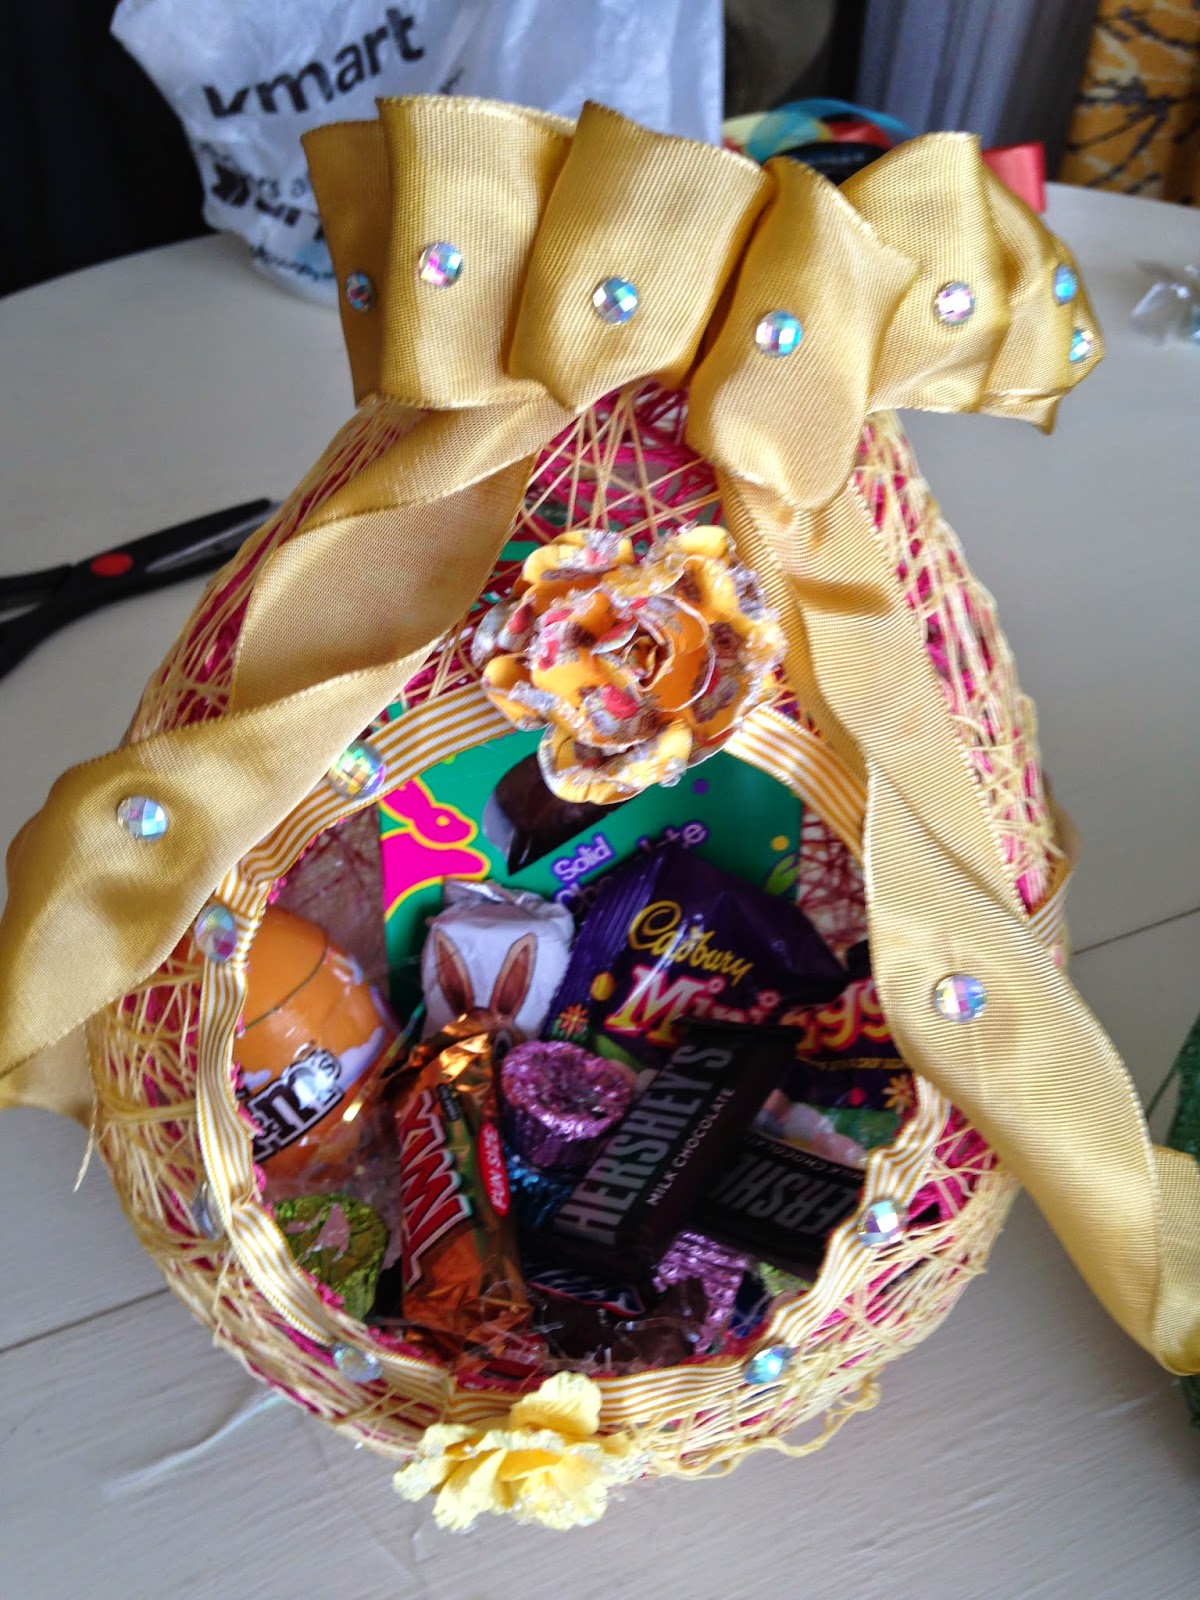
This year I made my kiddos' Easter baskets! I had been meaning to make these for the last several years, but some how never managed. When I was a little girl my mom made a version of these baskets, so these bring back memories. 


Supplies: embroidery thread (I like the thicker), balloons, Mod Podge (years ago mom used sugar water, I tried starch this time around and it did not work very well), ribbon and other embellishments, hot glue gun/sticks.
  • start by blowing up your balloons. 
  • soak the embroidery thread in the Mod Podge.
  • Tie the end of your string around the knot at the opening of the balloon and carefully start wrapping it. Be prepared because this is messy and a little annoying. The string has a tendency to slip until you really get going with it.
  • After it is wrapped, add more Mod Podge to ensure that the strings are soaked all the way through. I hung mine from a light fixture until they were dry. 
  • Once they dry, you can pop the balloon and and get to work cutting a hole in the front. I also pushed the bottom in on mine so that they'd stand upright.
  • Lastly, have fun decorating!
  • The following pictures that detail some of the steps.


I think that these 
turned out really cute! 
Happy Easter!
and Remember...
He is Risen!
xoxoxo
Josie


Wednesday, December 25, 2013

More Book Page Wreathes

My sisters and I got together over Thanksgiving break and made 
Christmas book page wreathes! We had a wonderful time eating, visiting, 
and crafting.The inspiration for these wreathes came from the link below.

Christmas Decorating Christmas Wreath Old Book Pages

It takes about 4-5 hours to make one book page wreath, 
but I think it is time well spent!
We also ate pesto pizza and wedge salads. 
Yummy! Dunmore enjoyed the crust! I got a photo
 of the salad, but forgot the pizza. Darn!
For this wreath, we made lots and lots of cones 
from the pages of old books. We also did lots of
 measuring, stapling, gluing, and laughing! In the 
photo above you can see our cones. My sister's 
book was quite a bit older than mine, so her pages 
are a lot darker. Her cones were also a lot more
 fragile. Keep that in mind if you end up trying
 to make one of these. Anyway, I love both looks. 
Book page wreathes bring a certain character
 to your home that other wreathes don't have.
 Plus you are up-cycling something old.
In the background you can see the one that I 
made several years ago. It still looks great! 
AND would you look at how cute Lord Dunmore is! 
I sure do love that dog!
Happy crafting dear friends! 

xoxox
Josie